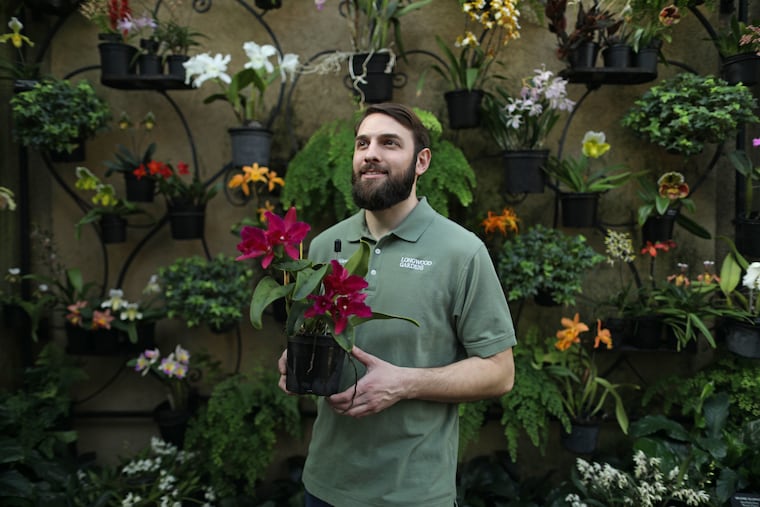
How not to kill an orchid, from Longwood Gardens’ orchid grower
It's not nearly as tricky as you might think, says grower Greg Griffis.

Walk into Longwood Gardens’ conservatory, and a colorful orchid oasis awaits. More than 300 species climb the walls, hang from the ceilings, and fill the floor with blooms of every shade for the horticultural center’s annual Orchid Extravaganza (through March 22). Nearby, a permanent collection displays nearly 6,000 orchids from 2,500 species, offering year-round inspiration for indoor plant enthusiasts.
It’s a beautiful sight and makes it easy to want to bring the orchids home. Fortunately, cultivating your own collection doesn’t have to be intimidating, says Longwood’s resident orchid grower Greg Griffis. The idea that orchids are particularly tricky, he asserts, is a long-standing myth.
“Orchids get a bad rap because they’re misunderstood,” says Griffis. “You just need to learn a few key facts, one of them being that they only flower once a year.”
Griffis suggests starting with either a phalaenopsis (moth orchid) or an oncidium group orchid, two of the easiest types to manage. Follow the five tips below, and he assures you’ll grow an orchid that thrives.
Get the light right
Orchids like bright light, but not when it’s shining down directly in the middle of the afternoon. “The sun can actually heat up the leaves to the point where the water inside them will start to boil and damage the cells around it, almost like a human sunburn,” says Griffis.
Best bet: An east-facing window.
“An east window brings a couple hours of direct morning sun, which provides orchids the energy they need to produce a flower without burning them."
But you can make most locations work:
North-facing windows are the most challenging and often require a small grow light to guarantee flower production.
Orchids in west-facing windows do best on a stand slightly away from the windowsill, or protected by a sheer curtain, especially during late summer months.
Hanging a sheer curtain on south-facing windows is advised year-round for orchids.
Never leave an orchid sitting in a bath of water
“Their greatest enemy is rot,” says Griffis. “When you water, soak the media thoroughly, but let it drain all the way before you place it back into a decorative pot.”
Most orchids should be watered just as they begin to dry out, or about once a week, says Griffis. Some varieties, like cattleyas, should be allowed to dry completely between waterings. Do some research or ask your supplier about each type upon buying.
Feed ‘weekly and weakly’
If you want flowers, it’s important to fertilize.
“Orchids don’t like a lot of fertilizer but they do like it regularly,” says Griffis. “We go by the rule ‘weakly weekly’ — a little bit three weeks in a row, and the fourth week, just use plain water.”
Griffis advises using a standard fertilizer, such as Miracle Grow, when you water. Halve the amount of fertilizer that the packaging recommends when mixing it.
Repot every other year
“In nature, the roots are used to growing on the side of a tree. They need to breathe in order to work well,” explains Griffis. “So in a pot, you want to keep the media from breaking down overtime and suffocating the roots.”
To repot, remove the orchid and discard the surrounding media and any dead roots, using scissors if needed. Place the orchid back in the pot and add a fresh batch of potting mix. You many need a bigger pot if there’s been a lot of growth.
“For plants that grow upwards, like phalaenopsis, you need the pot to be just big enough to fit the roots in,” says Griffis. “For plants that grow horizontally, like cattleya and oncidium, you need a pot that leaves enough room for the next year’s growth.”
Use an orchid-specific potting mix
Potting media that’s designed for orchids is commonly made up of tree bark, charcoal, and perlite. These ingredients allow for drainage, air circulation, and the right amount of water retention.
“A traditional soil is too dense and will suffocate the roots,” says Griffis.